Top 5 Common Paint Sprayer Mistakes
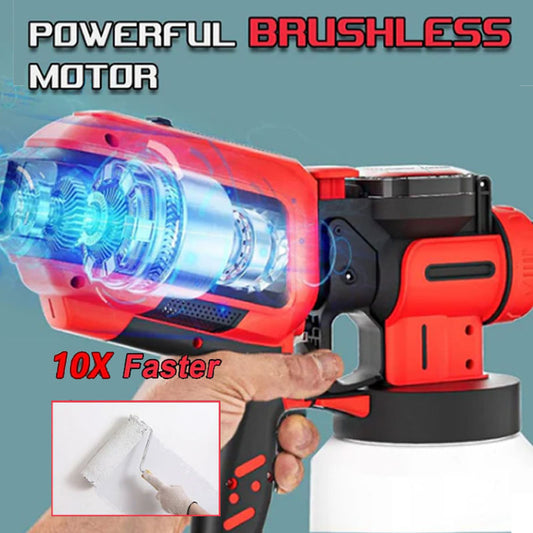
Spravik AdminUsing a paint sprayer can transform a DIY project from a frustrating chore into a fast, smooth, and professional-looking finish. Whether you're using a spray paint gun for a simple touch-up or an electric paint sprayer for a full home makeover, spray painting saves time and delivers a consistent coating—when done right. However, many DIYers and even experienced users make some common mistakes that can ruin the finish, waste materials, or even damage the equipment.
Avoiding these missteps can make a world of difference. In this comprehensive guide, we'll walk through the top 5 most common paint sprayer mistakes and how to avoid them. Along the way, we’ll also explore the differences between a spray paint gun, a paint spray gun, and an electric paint sprayer—while offering insights to improve your technique, efficiency, and end results.
Mistake1: Not Preparing the Surface Properly One of the biggest causes of an uneven finish is a poorly prepared surface. No matter how high-end your paint spray gun is, it won’t compensate for dust, grease, or peeling paint. Before spraying, always clean the surface thoroughly using soap and water or a degreaser. Then, sand the area lightly to remove old paint flakes or glossy finishes that might prevent adhesion. Finally, wipe everything down with a tack cloth. Skipping this step often leads to flaking, bubbling, or streaks in the final coat. If you're using an electric paint sprayer, the precision it offers can be compromised by surface imperfections.
Mistake2: Choosing the Wrong Spray Tip or Nozzle Paint sprayers are not one-size-fits-all. A spray paint gun typically comes with interchangeable nozzles or spray tips that control the width and flow of the spray. Using the wrong tip size can cause overspray, drips, or poor coverage. For example, a fine finish tip is ideal for cabinets or trim, while a larger tip is better suited for walls and fences. Electric paint sprayers often come with detailed manuals indicating which tip to use with what type of paint—latex, enamel, stain, etc. Ignoring these recommendations can lead to clogged tips, uneven application, and frustration.
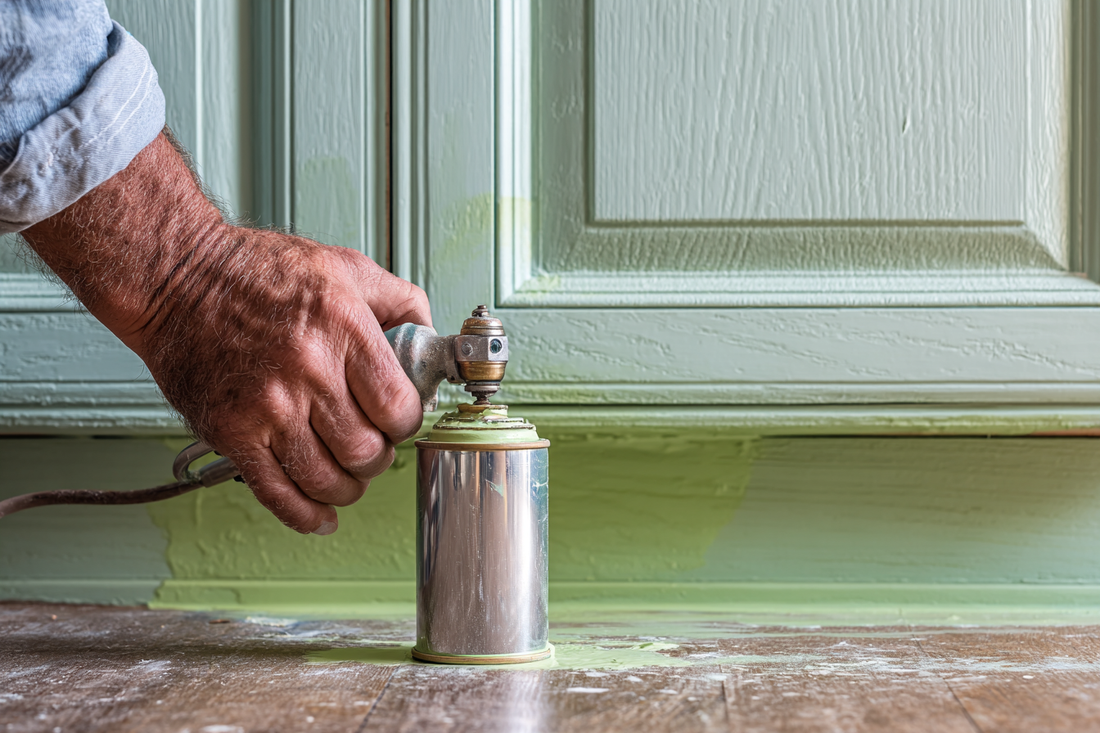
Mistake3: Holding the Sprayer Incorrectly Technique matters. One common mistake is tilting the spray gun or moving it in arcs rather than straight lines. This causes uneven paint distribution, with heavy application in the middle and thin edges. The correct method is to keep the spray paint gun perpendicular to the surface and move it in smooth, overlapping strokes—ideally overlapping each pass by 50%. Also, maintain a consistent distance of about 10–12 inches from the surface. Moving too fast or too slowly results in either overspray or thick, dripping layers. An electric paint sprayer enhances control, but you still need to manage speed and angle carefully.
Mistake4: Not Thinning the Paint When Required Depending on the model, some paint spray guns—especially HVLP (high-volume, low-pressure) systems—require paint to be thinned to a specific viscosity for optimal atomization. Skipping this step can clog the gun, produce sputtering sprays, or lead to inconsistent finishes. Use the included viscosity cup or follow the manufacturer’s guidelines to determine if thinning is necessary. Water-based paints usually require some dilution, while oil-based paints may need specific thinners. Electric paint sprayers with adjustable pressure settings sometimes compensate for thicker paints, but it’s still important to start with the right consistency.

Mistake5: Not Cleaning the Sprayer Immediately After Use Paint sprayers are precision tools, and paint residue left inside can dry quickly and clog the internal components. This not only affects future performance but can also permanently damage the sprayer. Always flush out the system with water (for water-based paints) or the recommended solvent (for oil-based paints) immediately after finishing. Disassemble the parts as needed and clean each thoroughly. Pay special attention to the nozzle, filters, and intake tubes. Many electric paint sprayers come with cleaning kits—use them! Neglecting this step shortens the lifespan of your equipment and compromises the quality of your next project.
Bonus Tips for Better Spray Painting
Always do a test spray on cardboard to check your pattern.
Keep the sprayer moving while spraying—start your stroke before pulling the trigger.
Use drop cloths and masking tape to protect surrounding areas.
Don’t paint in high humidity or direct sunlight if working outdoors.
Wear a mask and goggles—safety first.
Understanding Your Equipment The terms spray paint gun and electric paint sprayer are often used interchangeably, but they can refer to different setups. A basic spray paint gun might be a manual, pressurized canister tool suitable for small touch-ups. A paint spray gun typically refers to a more advanced tool that connects to an air compressor or turbine system. An electric paint sprayer, on the other hand, is a standalone device powered by electricity, ideal for DIYers seeking a balance between power and convenience.
Each tool has its learning curve, but with the right preparation and awareness of these common mistakes, you can achieve professional-grade results without hiring a contractor. Whether you're staining a deck, painting kitchen cabinets, or giving your outdoor furniture a facelift, avoiding these top five mistakes can save time, money, and stress.
In summary, successful spray painting is less about expensive gear and more about knowing how to use it properly. Respect your tools—whether it’s a versatile electric paint sprayer or a compact spray paint gun—and they’ll reward you with smooth, durable finishes for years to come. Don’t rush. Practice technique. Clean thoroughly. And most importantly, prepare like a pro. That’s the DIYer’s path to painting success.