The Ultimate Beginner’s Guide to Using a Paint Sprayer at Home
Spravik AdminUsing a paint sprayer can transform your DIY projects. Whether you're repainting walls, upgrading furniture, or giving your cabinets a fresh look, a paint sprayer helps you get a smooth, professional finish in less time than brushes or rollers.
But if you’re new to this tool, it might feel intimidating. Don’t worry—this guide is here to walk you through everything you need to know about using a paint sprayer at home.
Why Use a Paint Sprayer Instead of a Brush or Roller?
Traditional brushes and rollers work fine, but they:
Take longer
Leave streaks or roller marks
Require more effort for textured or detailed surfaces
Paint sprayers, on the other hand:
✅ Cover large areas quickly
✅ Deliver a smooth, even finish
✅ Reach corners, curves, and detailed surfaces effortlessly

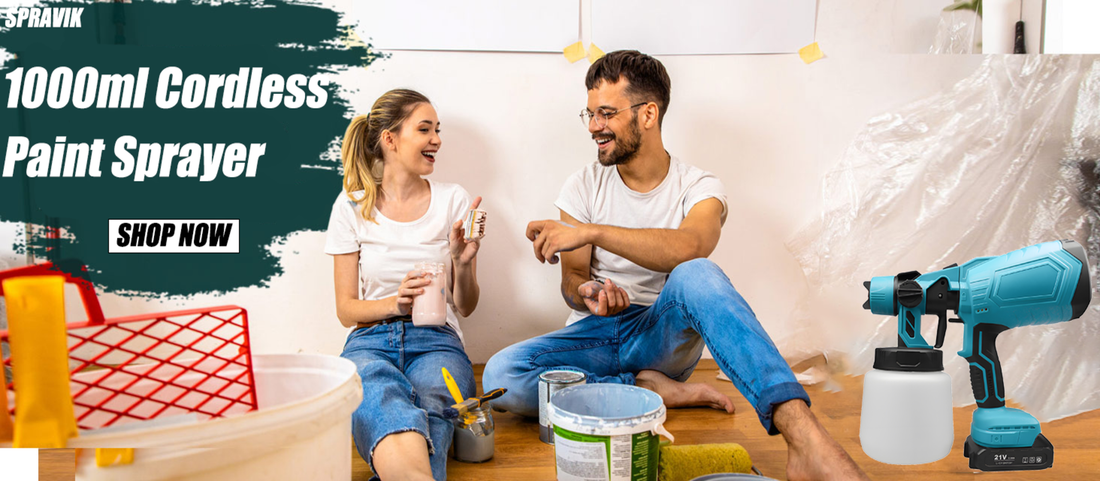
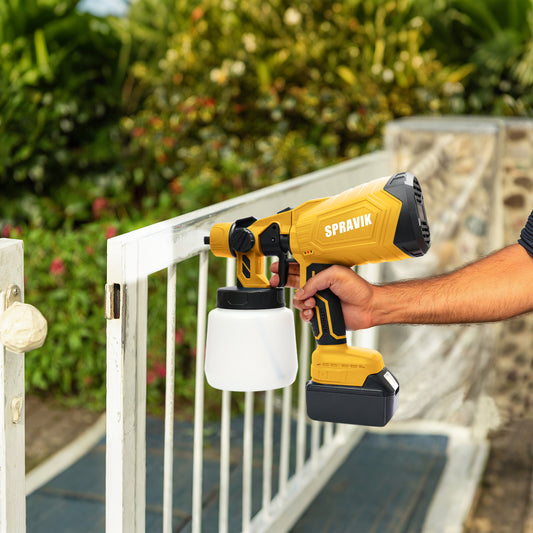
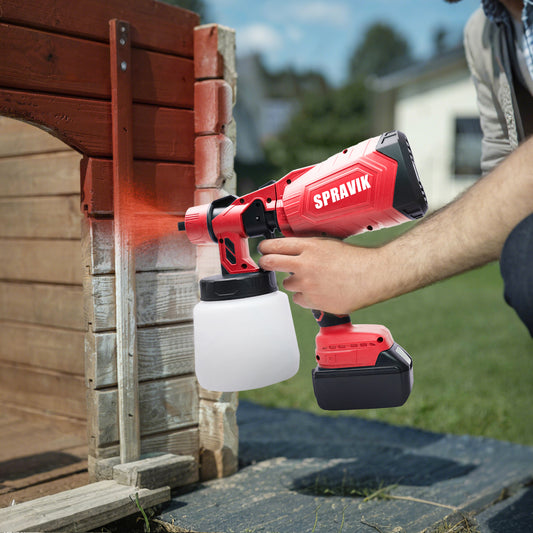
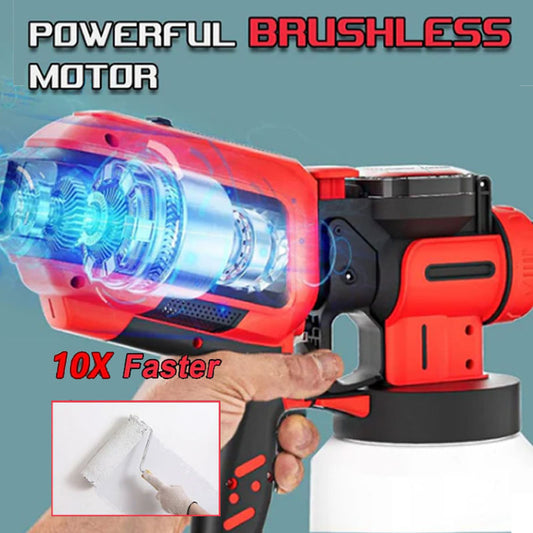
✨ Looking for a high-quality, beginner-friendly paint sprayer? Check out Spravik’s Cordless Paint Sprayer for fast, professional results.
What You’ll Need
Before you start, gather the essentials:
Paint sprayer (cordless or electric)
Paint (thinned if necessary)
Drop cloths or plastic sheets
Painter's tape
Safety gear: goggles, gloves, and mask
Stir stick and paint strainer
Step 1: Set Up Your Workspace
1.Protect your surroundings with drop cloths.
2.Use painter’s tape to mask off trim, windows, or areas you don’t want to paint.
3.Ensure the area is well-ventilated, especially for indoor projects.
Step 2: Prepare Your Paint
Most paint sprayers require thinning paint for smooth flow.
Check your user manual for paint viscosity recommendations.
Use a strainer to remove clumps before pouring paint into the sprayer.
Step 3: Test Spray on Scrap Surface
Don’t go straight to your wall or furniture.
Do a few test sprays on cardboard or scrap wood to:
Adjust spray pattern (horizontal, vertical, circular)
Set proper flow rate
Practice consistent movement

Step 4: Start Spraying — The Right Way
🎯 Technique matters. Follow these tips for a perfect finish:
Hold the sprayer 6–12 inches from the surface
Keep your wrist straight; move your entire arm
Overlap strokes by 30-50% for even coverage
Always start and stop spraying off the surface
Step 5: Take Breaks and Check Coverage
Don’t rush. Step back every 10–15 minutes to inspect your work. You can apply a second coat after the first dries (usually 1–2 hours depending on paint type and weather).
Step 6: Clean Up Properly
Cleaning your sprayer after each use keeps it running smoothly.
1.Empty and rinse the paint container
2.Run water or cleaning solution through the sprayer
3.Disassemble and rinse nozzles and filters
4.Let everything dry completely before storing
💡 Spravik sprayers are designed with easy-clean systems, so maintenance is quick and hassle-free.
Beginner FAQs
Q: Can I use any paint in my sprayer?
A: You can use most latex, acrylic, and oil-based paints—just check if thinning is required.
Q: Is a cordless sprayer powerful enough for indoor walls?
A: Yes! Modern cordless models like Spravik’s High-Pressure Cordless Sprayer deliver great power and mobility for indoor and outdoor use.
Q: Is it messy to use a paint sprayer?
A: Not if you prep your area well. Proper technique + protective covers = no splatter stress.
Conclusion: Practice Makes Perfect
Using a paint sprayer for the first time can be a little intimidating—but with the right prep and technique, it’s a game-changer for DIY and home projects.
Start with a small project, master your flow, and soon you’ll wonder how you ever painted without one.
Ready to get started?
Browse our selection of cordless and electric sprayers at Spravik.com, and take your next project to a professional level.


