Step-by-Step Guide: How to Use a Paint Sprayer Like a Pro
Spravik AdminPainting can be one of the most time-consuming parts of any home improvement project. Traditional brushes and rollers often leave streaks and take hours to cover even small areas. That’s where a paint sprayer comes in. With the right technique, you can achieve a smooth, professional-quality finish in a fraction of the time.
This guide will show you step by step how to use a paint sprayer like a pro, whether you’re a complete beginner or just looking to improve your spraying skills.
Why Use a Paint Sprayer?
Keywords: paint sprayer, DIY paint sprayer, spray gun tutorial
Before jumping into the steps, let’s understand why a paint sprayer is worth it:
Faster coverage: Sprayers can finish a wall in minutes compared to hours with a roller.
Smoother finish: No roller marks or brush strokes.
Versatility: Works on walls, fences, cabinets, furniture, and even cars.
Professional results: Even beginners can achieve smooth, consistent coats.
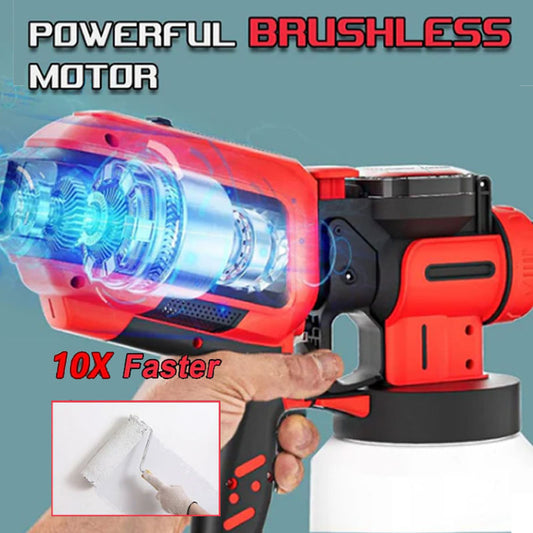
Step 1: Choose the Right Paint Sprayer
Not all sprayers are created equal. The first step is to select the right one for your project.
HVLP paint sprayer: Best for furniture, cabinets, and small projects requiring precision.
Airless paint sprayer: Ideal for walls, ceilings, fences, and large areas.
Cordless paint sprayer: Perfect for outdoor or mobile projects.
Electric paint sprayer: Affordable, easy-to-use choice for home DIY projects.
Step 2: Prepare Your Workspace
Preparation is key. Even the best paint sprayer won’t deliver great results without proper setup.
1.Clean the surface – Remove dust, grease, or old peeling paint.
2.Mask surrounding areas – Use painter’s tape and plastic sheets to cover windows, floors, and furniture.
3.Ventilation – If working indoors, ensure good airflow with open windows or fans.
4.Safety gear – Wear goggles, gloves, and a mask to protect yourself from overspray.
Step 3: Thin and Filter Your Paint
Keywords: paint thinning for sprayer, paint preparation for spray gun
Check your sprayer manual to see if thinning is required.
For HVLP sprayers, most paints need to be thinned to the right viscosity.
Use a paint strainer to filter lumps and avoid clogging.
👉 Pro tip: Test your paint on cardboard before starting. If the spray pattern spits or clogs, thin the paint a little more.
Step 4: Set Up Your Sprayer
Each type of paint sprayer has different settings, but here are the basics:
1.Attach the container or hose – Fill with prepared paint.
2.Choose spray pattern – Horizontal, vertical, or circular, depending on the surface.
3.Adjust pressure – Start with lower pressure and increase if necessary.
4.Test spray – Always spray on scrap wood or cardboard first.
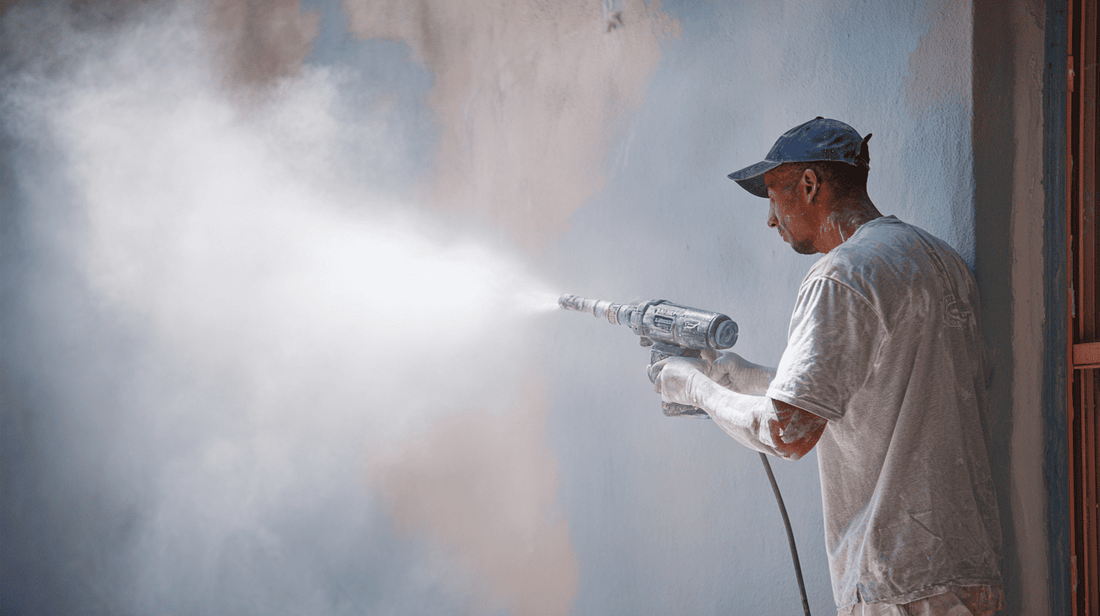
Step 5: Master the Spraying Technique
This is where your finish will be won or lost. Follow these rules:
Keep distance: Hold the gun 6–12 inches (HVLP) or 12–18 inches (airless) from the surface.
Move steadily: Sweep your arm, not just your wrist, to keep strokes even.
Overlap strokes: Each pass should overlap the previous one by 30–50% for even coverage.
Keep moving: Don’t pause in one spot or you’ll get drips.
Multiple thin coats: It’s better to apply 2–3 light coats than one heavy coat.
Step 6: Tackle Different Surfaces
Walls and Ceilings
Use an airless sprayer for fast coverage.
Work in long vertical passes.
Furniture and Cabinets
Use an HVLP paint sprayer for a smooth finish.
Spray thin coats and let them dry before adding another.
Outdoor Fences and Decks
Cordless sprayers are great for mobility.
Work with the wood grain for better results.
Step 7: Clean Your Sprayer
Keywords: clean paint sprayer, spray gun maintenance
Cleaning is just as important as painting. Neglect it, and your sprayer won’t last.
1.Empty leftover paint.
2.Rinse the container with water (for latex) or thinner (for oil-based paints).
3.Run clean solution through the sprayer until it sprays clear.
4.Disassemble the nozzle and filter, then scrub gently.
5.Dry and reassemble for storage.
👉 Pro tip: Clean immediately after use—once paint dries, it’s almost impossible to remove.
Common Mistakes Beginners Make
Holding the sprayer too close → causes drips.
Not overlapping strokes → results in patchy coverage.
Spraying too heavy → leads to uneven coats.
Skipping prep work → dirt or grease ruins the finish.
Forgetting cleanup → clogs and damages sprayer parts.
Safety Tips
Always wear a respirator mask when spraying indoors.
Keep sprayer away from open flames (especially with oil-based paints).
Don’t point the spray gun at yourself or others—it operates under high pressure.
Why Use Spravik Paint Sprayers?
At Spravik, our paint sprayers are designed for ease of use, durability, and professional results. Whether you’re a DIY beginner learning how to spray cabinets, or a contractor painting an entire house, we have the right sprayer for your needs.
HVLP sprayers for precision.
Airless sprayers for speed.
Cordless sprayers for portability.
Electric sprayers for versatility.
Spravik makes painting simple, so you can focus on results.
Using a paint sprayer doesn’t have to be intimidating. With the right preparation, setup, and technique, you can achieve a flawless, professional-quality finish every time.
Remember:
Prep your surface.
Thin and filter your paint.
Practice your spraying motion.
Apply multiple thin coats.
Clean thoroughly afterward.
Follow this step-by-step guide, and you’ll be painting like a pro in no time—with a Spravik paint sprayer by your side.