Step-by-Step Guide: How to Clean and Maintain Your Paint Sprayer
Spravik AdminCleaning and maintaining your paint sprayer is crucial if you want to ensure consistent performance, avoid clogging, and extend the life of your equipment. Whether you’re using a high-end model or a cheap spray paint gun from a local hardware store, regular maintenance makes all the difference. This guide will walk you through the complete cleaning process and provide tips on maintaining your sprayer for long-term use.
Why Maintenance Matters Many users neglect proper care of their sprayers, especially when using cheap spray paint guns, thinking they are disposable. But even affordable models can perform well with basic upkeep. A clean sprayer prevents paint build-up, ensures an even spray pattern, and helps reduce the risk of sudden breakdowns during a job.

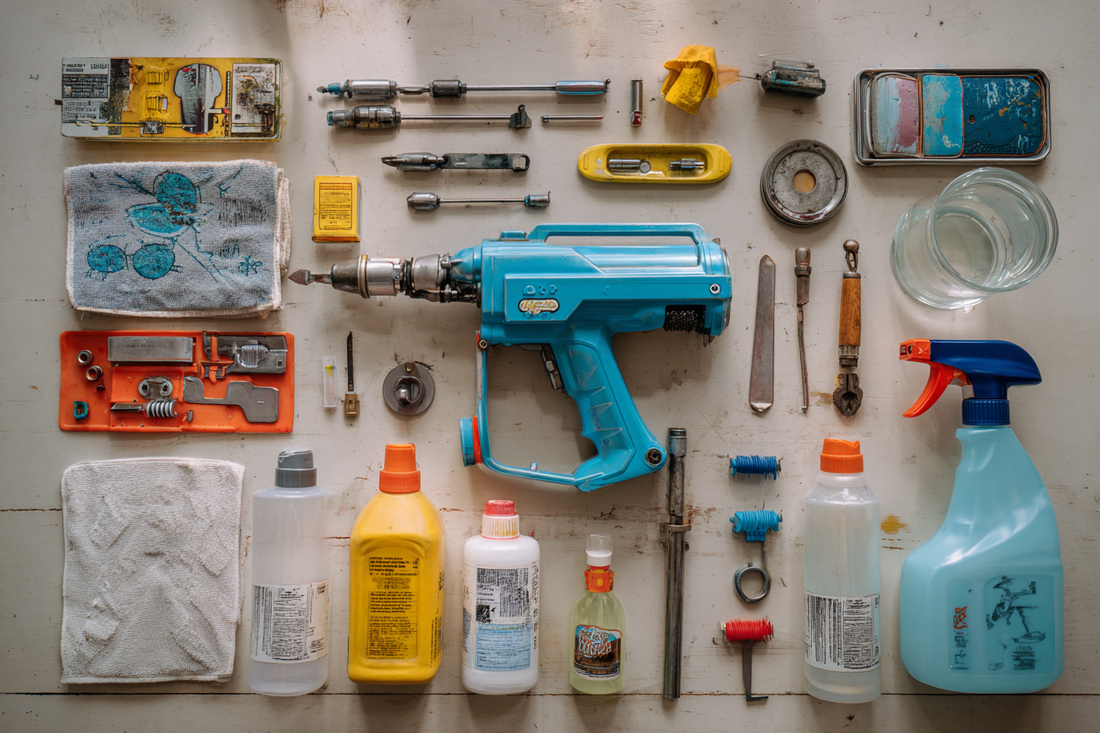
Step 1: Disassemble the Sprayer After every use, start by unplugging or powering off the unit. Remove the paint container and empty any leftover paint. Then, disassemble the spray tip, nozzle, and filters. If you’re using a cheap spray paint unit with fewer detachable parts, focus on removing the nozzle and container at minimum. This initial breakdown is key to reaching the areas where paint accumulates.
Step 2: Rinse Immediately The longer paint is left inside your equipment, the harder it becomes to clean. Rinse out the paint cup, suction tube, and nozzle with water (for water-based paints) or an appropriate solvent (for oil-based paints). Cheap spray paint guns are more prone to clogging due to basic design, so be extra thorough with the rinsing process.
Step 3: Use a Cleaning Solution Soak removable parts in a cleaning solution for about 15–30 minutes. Commercial sprayer cleaners work best, but household alternatives like vinegar and warm water can suffice for latex paint. For stubborn residue, especially from cheap spray paint brands that use heavy pigments, use a small brush to scrub the parts gently. Avoid abrasive materials that could damage the nozzle or housing.
Step 4: Clean Internal Components If your sprayer allows, run the cleaning solution through the sprayer to clean internal tubing. Pour the solution into the paint cup and spray into a waste container until the liquid comes out clear. This ensures the spray path is free from dried paint or residue. Cheap spray paint sprayers sometimes struggle with internal residue because their seals are weaker, so be sure to flush thoroughly.
Step 5: Inspect for Wear and Damage After cleaning, inspect all parts for signs of wear. Look for cracks in the tubing, worn-out gaskets, or blocked filters. Even cheap spray paint sprayers can last for many uses if worn parts are replaced quickly. Don’t forget to check the trigger mechanism and pressure valve (if applicable) to ensure smooth operation.
Step 6: Lubricate Moving Parts Use a light machine oil or the lubricant provided by your sprayer’s manufacturer on moving parts like the trigger, needle, or piston. This prevents sticking and keeps the unit operating smoothly. Lubrication is especially important in cheaper models with lower-quality internal components, which are more likely to seize up.
Step 7: Store Properly Once everything is dry and reassembled, store the sprayer in a cool, dry place. Use the original box if available, or cover it with a dust cloth. If you’ve used cheap spray paint, it’s even more important to protect your sprayer from leftover residue or corrosion. Always keep the nozzle covered to avoid dust build-up inside the spray tip.
Common Maintenance Mistakes One of the most common errors is failing to clean immediately after use. Another is not fully flushing internal lines, leaving behind paint that clogs over time. Some users assume cheap spray paint sprayers don’t need maintenance—but they actually need more attention due to basic construction. Ignoring cleaning steps can result in reduced pressure, uneven spray patterns, and complete equipment failure.

Deep Cleaning Tips Once a month—or after a particularly messy job—do a deep clean. Disassemble every removable part, soak for an extended period (up to an hour), and use dental brushes or soft wire brushes to remove buildup. Spray a full cup of cleaner through the system to flush any residual paint from deep inside. Cheap spray paint tends to leave thick sediment, especially in the nozzle and suction tube.
Using Cleaning Kits Invest in a sprayer cleaning kit. These usually include small brushes, picks, and nozzle cleaners designed for detailed maintenance. They're especially useful when working with cheap spray paint brands, which may include fillers or additives that clog your sprayer faster. A kit helps extend usability and prevents frustrating performance issues.
Maintaining Spray Pattern Consistency Clogged or partially blocked nozzles lead to uneven spray patterns. Test your sprayer on cardboard after cleaning to ensure an even fan pattern. If it sputters, check for residue or air leaks. Reclean if necessary. In budget sprayers, performance can drop dramatically after minor clogs, so consistency checks are vital.
Best Practices for Cheap Spray Paint Users If you often use cheap spray paint, consider straining the paint before pouring it into the sprayer. This removes clumps or impurities that could cause clogs. Use a fine mesh paint strainer or cheesecloth. Additionally, shake the can thoroughly before use to ensure proper pigment dispersion.
Paint Compatibility Not all sprayers are designed for every type of paint. Check the user manual for compatible paint types. Many cheap spray paint sprayers perform best with thinned latex or enamel. Using high-viscosity paint without thinning can damage the motor or clog internal parts. Follow manufacturer recommendations carefully.
Seasonal Maintenance If storing the sprayer for extended periods (e.g., over winter), perform a thorough cleaning and lubrication. Store with all parts dry and detach the paint cup. Spray a few drops of lubricant into the system to keep internal seals moist. Cheap spray paint sprayers, especially, can dry out and crack in low-humidity conditions.
Environmental Considerations Always dispose of solvents and leftover paint responsibly. Don’t rinse chemicals into storm drains or sinks. Use designated hazardous waste disposal sites. When cleaning after using cheap spray paint, remember that low-cost paints may contain more volatile compounds—work in well-ventilated areas and wear gloves.
Conclusion Regular maintenance and cleaning keep your paint sprayer in top shape, whether you're using a professional-grade model or an affordable one paired with cheap spray paint. By following these step-by-step instructions, you can avoid clogs, reduce wear, and enjoy smoother, more consistent paint results. With a little time and care, even the simplest spray gun can deliver great results on every project. Make maintenance a habit—it’s the best way to protect your investment, however big or small.