How to Use a Paint Sprayer Indoors Without Making a Mess
Spravik AdminUsing a paint sprayer indoors can drastically speed up your project and create a professional-looking finish. Whether you're repainting kitchen cabinets, refreshing walls, or tackling intricate trim work, a high-volume low-pressure (HVLP) sprayer like those from Spravik can save time and effort. However, using a sprayer indoors also comes with challenges — mainly overspray, ventilation, and surface protection.
This in-depth guide will walk you through step-by-step instructions, preparation strategies, equipment tips, and expert tricks to use your paint sprayer indoors without creating a mess.
While rollers and brushes are traditional tools for indoor painting, paint sprayers offer several advantages. They work faster, cover large areas evenly, leave no brush or roller marks, and make it easy to get into corners or coat detailed surfaces. If you're repainting a room, a sprayer can make your work much more efficient — if used correctly.
Overspray refers to paint particles that drift beyond the intended surface. Indoors, this can lead to paint dust settling on furniture, floors, and ceilings, as well as paint mist lingering in the air. Not only does this affect the final look, but it also creates a health hazard. Controlling overspray is the key to using a sprayer indoors safely and cleanly.

Before you begin, gather the right materials. You’ll need a Spravik HVLP sprayer, painter’s plastic sheeting or drop cloths, painter’s tape, a respirator or VOC-rated mask, safety goggles, gloves, an air purifier or window fans, tack cloth, extension cords, primer and paint suited for interior use. Optional tools include a spray shelter or DIY plastic enclosure and a dehumidifier to help with drying.
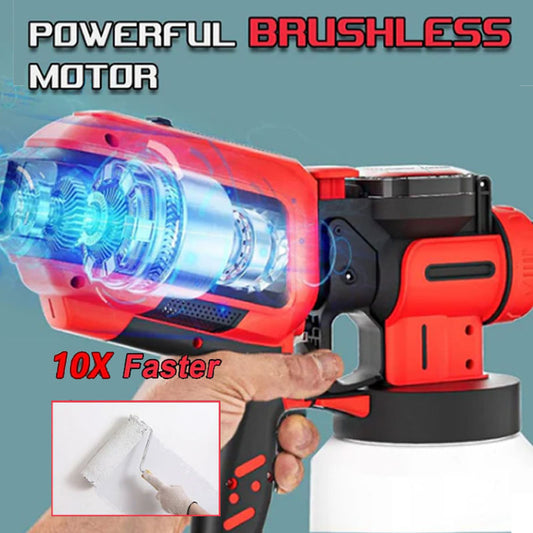
Choosing the right paint sprayer is your first crucial decision. HVLP sprayers, like those from Spravik, are perfect for indoor use because they offer fine control, produce less overspray, and work efficiently with thinner paints. Make sure your sprayer is clean, the nozzle is appropriate for your paint type, and the settings are adjustable.
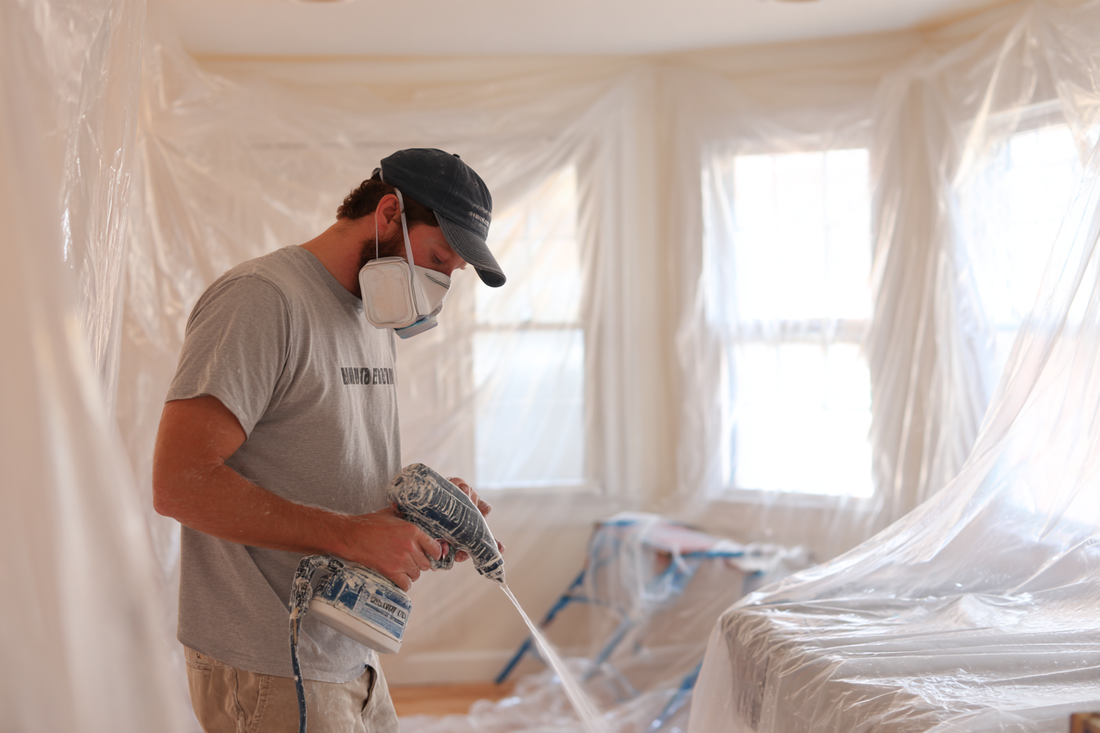
Start by clearing your workspace. Remove or tightly cover all furniture, take down curtains and rugs, and fully protect your floors with sheeting or canvas drop cloths. Mask off windows, outlets, ceiling edges, baseboards, and any adjacent surfaces. This step is essential to prevent paint from drifting where it shouldn't.
Ventilation is extremely important. Open windows and use box fans or exhaust fans to circulate air. If you’re working in a more confined room, consider an air purifier. Good airflow not only helps with drying but also reduces fumes and keeps the environment safer.

Always test your spray pattern before starting. Use cardboard or scrap wood to adjust the air pressure and flow rate. Make sure your spray is consistent and even, with no heavy splatters or dry spots.
When spraying, keep the nozzle about 6–8 inches from the surface and move your arm evenly. Use overlapping strokes (50% overlap) and keep the nozzle perpendicular to the wall — don’t swing your arm in an arc. Work in sections from top to bottom for the most uniform result.
Watch closely for drips or runs. If they occur, stop immediately and smooth them out with a brush or roller. It’s better to apply multiple thin coats rather than one thick coat, allowing each to dry fully before applying the next.
Different surfaces require slightly different techniques. For walls and ceilings, use a wider spray fan and blend sections quickly while the paint is wet. For cabinets or furniture, remove doors and spray flat. Use a spray shelter or build a plastic booth to contain the mist. When spraying trim or baseboards, mask carefully and use a narrow pattern for control.
Overspray can be minimized in several ways. Create a spray booth using PVC pipes or curtain rods with plastic sheeting. Lower the air pressure and reduce flow rate when spraying tight areas. HVLP technology already helps limit overspray, but wetting the floor slightly can help catch airborne particles and prevent them from spreading.
Safety is just as important as cleanliness. Always wear a proper respirator, safety goggles, and gloves. Avoid spraying near open flames or heat sources. Don’t block HVAC vents, and store all materials properly when finished. After painting, wash your hands and arms thoroughly.
Let the paint dry according to manufacturer recommendations. Once dry, remove all masking slowly to avoid peeling off fresh paint. Clean the sprayer by flushing it with water or solvent as required, and take care to scrub the nozzle, filters, and reservoir. Store leftover paint for touch-ups or take it to a recycling center — never pour it down the drain.
Avoid common mistakes like spraying without proper masking, using incorrect pressure settings, standing too close or too far from the surface, or working in poor lighting. These missteps can lead to uneven results or make cleanup much harder.
Spray painting indoors doesn’t have to be messy. With careful preparation, the right equipment, and proper technique, you can achieve flawless, professional-looking results without covering your entire room in mist. Surface protection and spray control are the keys. Take your time, test everything, and follow best practices.
Spravik offers a full line of HVLP paint sprayers and accessories designed to make indoor spraying easier, cleaner, and more precise. Whether you’re updating your cabinets, painting built-ins, or tackling a full-room transformation, our tools help you do it better.
👉 Ready to start your next indoor project? Visit Spravik.com and gear up for a no-mess, high-impact finish.
Need help choosing a sprayer for your space? Contact our spray experts or browse more tutorials on our blog.