How to Quickly Paint Your Patio Fence with a Paint Sprayer
AdminSpravikWant to refresh your backyard or patio space? Painting your fence is one of the easiest ways to upgrade your outdoor area. And using a paint sprayer makes the job faster, smoother, and more professional-looking compared to using a brush or roller.
In this guide, we’ll walk you through how to use a paint sprayer for your patio fence — even if you’re a total beginner.

Why Use a Paint Sprayer on Your Fence?
✅ Save Time: Spraying covers large areas quickly. What takes hours with a brush can often be done in under an hour with a sprayer.
✅ Smooth Finish: Sprayers apply an even coat without brush marks, giving you a smooth, uniform look.
✅ Better Coverage: Reaches cracks, grooves, and tricky spots on wood or metal fences that brushes might miss.
✅ Less Fatigue: Less bending and repetitive motion compared to brushing every plank or panel.
What You’ll Need
Before you get started, gather these tools:
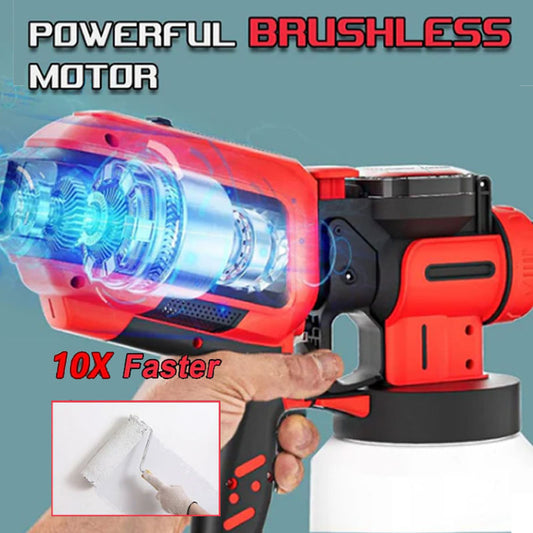
Paint sprayer (we recommend an airless or HVLP model)
Outdoor paint or stain (check compatibility with your sprayer)
Drop cloths or plastic sheeting
Painter’s tape
Sandpaper or a sanding block
Safety gear (mask, goggles, gloves)

Step 1: Prepare Your Fence
Clean the fence thoroughly. Remove dirt, cobwebs, and old peeling paint. If the surface is rough, sand it lightly to help the paint stick better.
Pro tip: Lay down drop cloths and tape off nearby areas (plants, patios, walls) to protect them from overspray.

Step 2: Set Up the Paint Sprayer
Follow the instructions in your paint sprayer manual.
Pour the paint or stain into the sprayer container.
Test the spray pattern on a piece of cardboard or scrap wood. Adjust the nozzle for the right width and pressure.
✅ For fences, a wide fan spray pattern works best for fast coverage.
Step 3: Start Spraying
Hold the sprayer about 10–12 inches away from the fence. Move smoothly and steadily, working in sections.
Spray side-to-side across one panel before moving to the next.
Keep your hand moving to avoid drips or buildup.
Apply thin, even coats. Two light coats are better than one heavy coat.
Step 4: Let It Dry & Clean Up
Let the first coat dry fully (check your paint’s label for dry times) before applying a second coat if needed.
When done, clean your sprayer immediately following the manufacturer’s instructions. This keeps it in good shape for your next project!

Extra Tips for Best Results
✔ Paint on a dry, calm day (avoid windy or rainy conditions).
✔ Wear a mask to avoid inhaling paint particles.
✔ Shake or stir your paint regularly to keep the consistency smooth.
✔ Don’t rush — take your time for even coverage.
Ready to Upgrade Your Outdoor Space?
Using a paint sprayer for your patio fence is one of the best DIY upgrades you can make. It’s fast, efficient, and gives you that crisp, professional look without the professional price.
👉 Shop our best-selling paint sprayers today to get started on your next outdoor project!