How to Paint Furniture Like a Pro Using a High‑Pressure Paint Sprayer
AdminSpravikPainting furniture is one of the easiest and most impactful ways to refresh your home. But using a traditional brush or roller can lead to streaks, drips, and uneven coverage— especially on intricate surfaces. That’s why a high‑pressure paint sprayer is the go-to tool for professionals and dedicated DIYers alike.
At Spravik, we believe in the power of smart tools for everyday users. In this guide, you’ll discover how to paint furniture effortlessly, achieve professional-level results, and transform your DIY projects into polished work of art.
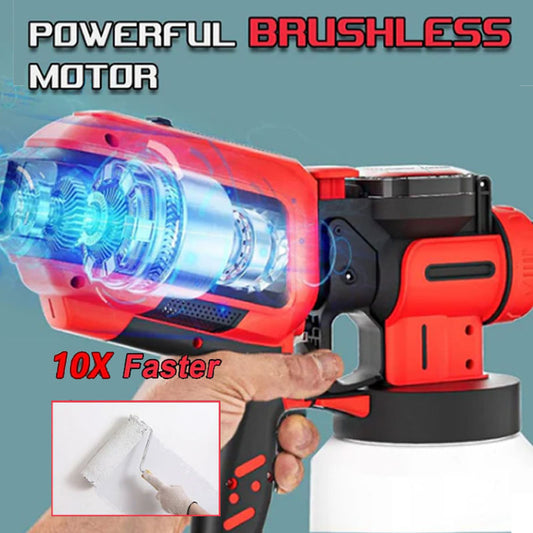
1. Why Choose a High‑Pressure Paint Sprayer
Smooth, even finish:
High-pressure sprayers atomize paint into fine particles, delivering a smooth coat with no brush or roller marks. Great for ornate surfaces, trims, legs, and veneers.
Speed & efficiency:
Covers more surface with less effort than hand painting—ideal for full cabinets, chairs, tables, or multiple pieces in one session.
Versatility:
Works with paints, stains, sealers, and lacquers, giving you freedom to explore different finishes.
Professional Edge:
A high-pressure sprayer gives your furniture a polished, showroom-quality look without the high cost of hiring professionals.
2. Tools & Preparation
Gathering the right tools before painting not only saves time—it ensures a better result.

Essential tools:
High-pressure paint sprayer (with adjustable settings)
Air compressor (if not integrated in unit)
Paint or stain compatible with sprayer
Primer (recommended for bare wood or dark-to-light color changes)
Sandpaper (120–400 grit) and sanding block
Drop cloths and plastic sheeting
Painter’s tape
Respirator mask, safety glasses, gloves
Cleaning solvent (water or PPG thinner as needed)
Stir sticks, measuring cups, strainers
A high-quality sprayer on Spravik’s platform gives you:
Adjustable pressure & fan width settings
Detachable nozzles (detail, medium, wide spray)
Internal filters for leak-free, smooth spraying
3. Prep Your Furniture
Proper preparation is 50% of a flawless paint job.
A. Clean the Surface
First, remove dust, dirt, grease—wipe down with cloth and mild cleaner or TSP solution. Let it fully dry.
B. Remove Hardware & Doors
Take off knobs, pulls, hinges, and doors before spraying. Paint them separately or reattach later.
C. Fill Imperfections
Use wood filler for dents and gouges. Let it dry, sand smooth with 120–220 grit sandpaper.
D. Final Sanding
Light scuff sanding with 320–400 grit to remove sheen and promote adhesion. Wipe down after sanding.
E. Tape & Mask
Mask off glass or hardware with painter’s tape or plastic sheeting to avoid overspray.
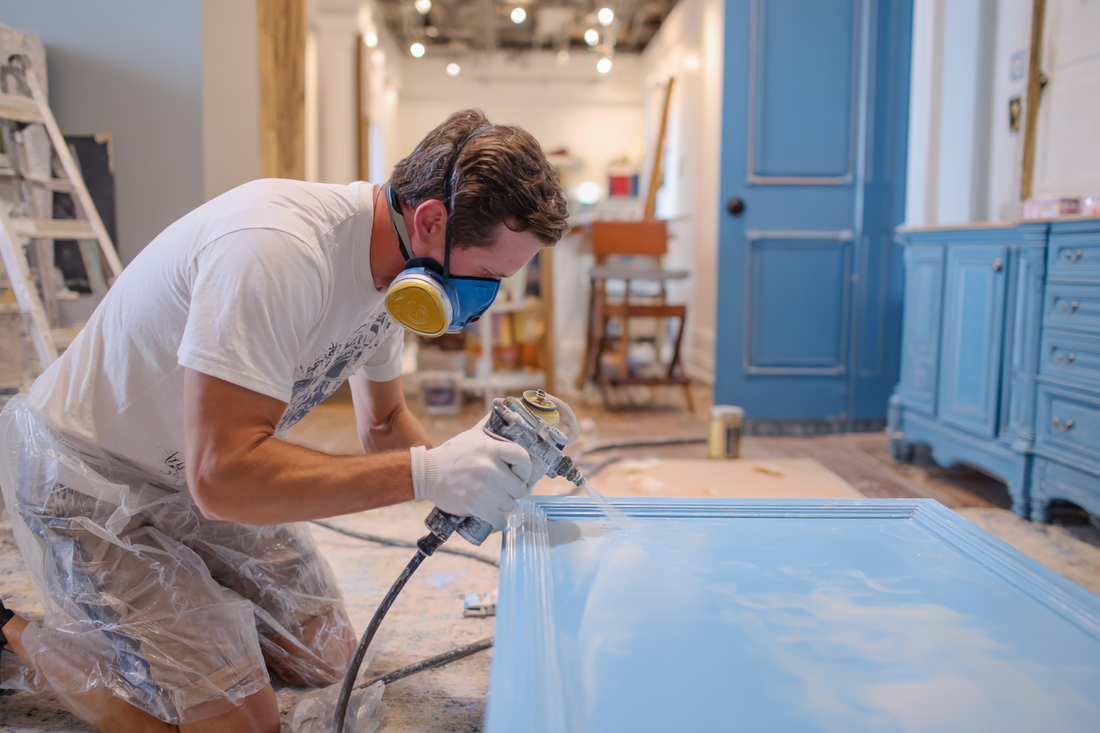
4. Mastering the Spraying Technique
Practice makes perfect—set up test boards to dial in your technique.
A. Strainer It
Strain the paint through a 100–200 mesh strainer to remove debris.
B. Thin the Paint Properly
Follow the manufacturer’s thinning ratio or sprayer guidelines—usually 5–10% latex paint thinner or water.
C. Pressure & Pattern Adjustment
Use lower pressure (15–20 PSI) for latex/acrylic paints
Higher pressure (25–35 PSI) for oil-based or thicker coatings
Start with a medium-width fan (6–8 inches) and adjust as needed
D. Correct Distance
Hold the gun approximately 6–10 inches from the surface for even coverage without overspray.
E. Proper Stroke Technique
Spray in horizontal and vertical overlapping strokes—overlap 50% each pass for full coverage.
F. Keep the Gun Moving
Start/stop motion outside the surface—never in the middle. Keep consistent swipes at a steady pace (3–4 feet per second).

5. Step‑by‑Step Painting Process
Prime First:
Priming prevents stains, boosts adhesion, and promotes durability.
Lightly sand between coats (320–400 grit).
First Top Coat:
Spray a thin base coat using long, even passes.
Allow ~10–15 minutes tack time before a second coat.
This avoids runs and ensures smooth adhesion.
Second Coat:
Apply mid-level even layers.
Sand lightly again (400 grit) to eliminate dust nibs.
Optional Third Coat:
For deep color changes or darker finishes, add a third coat for coverage.
Final Finish:
Consider water-based polyurethane or lacquer for added protection.
Use a separate sprayer setting or a dedicated polyurethane gun.
6. Drying, Sanding & Finishing
Let paint cure per product instructions—24 hours light duty, 7+ days for full cure.
Sand gently between coats with 400–600 grit to smooth imperfections.
Inspect surface under daylight—fix any missed spots and touch up.
7. Clean‑Up Like a Pro
A proper clean-up extends your sprayer’s lifespan:
1.Flush Gun & Lines with water (water-based paints) or solvent.
2.Disassemble nozzle, needle, and filters—clean thoroughly.
3.Store blocked open in clean air to prevent clogging.
4.Lubricate per your sprayer’s manual.
5.Label leftover paint for future touch-ups.
8. Common Mistakes to Avoid
Over-spraying/thick coats:
Fix by using thin layers and proper distance.
Skipping primer:
Results in poor color consistency and adhesion.
Inconsistent movement:
Leads to blotches—keep strokes steady.
Worn nozzles/filters:
Replace periodically for optimal atomization.
No protective gear:
Always wear a respirator and glasses for safety.
9. Finishing Tips & Extras
Use a drop cloth or cardboard under the piece to capture overspray.
Work in a ventilated area—dust-free and low wind is ideal.
Keep a wet edge—start and end off the piece for even coverage.
Label spray cups and store compatible liquids separately to avoid contamination.
10. Frequently Asked Questions
Q: Can I use a sprayer on laminate or veneered furniture?
Yes! When sanded and primed properly, a high-pressure sprayer works beautifully on laminate and veneer.
Q: Do I need to thin every paint?
Yes—especially for sprayers. Always follow thinning guidelines to prevent clogs and ensure smooth spraying.
Q: What’s the spraying duration per battery?
With a 2500mAh battery, expect 30–45 minutes per charge. Spare batteries let you swap mid-job without downtime.
Q: Can I paint outdoors?
You can—but watch for dust, wind, and temperature (paint between 50–85°F is ideal).
Using a high‑pressure paint sprayer transforms your DIY projects, enabling smooth, efficient, and professional-grade furniture finishes. Start with proper prep, practice spraying techniques, and maintain your tools—then let Spravik’s curated tools empower your home upgrades.
Whether you’re repainting an heirloom dresser or refreshing outdoor furniture, our guide provides all the steps you need. Ready to take your DIY game to the next level? Explore Spravik’s top-rated paint sprayers and accessories today—and paint like a pro.