How to Choose the Right Nozzle for Your Paint Sprayer: A Beginner’s Guide
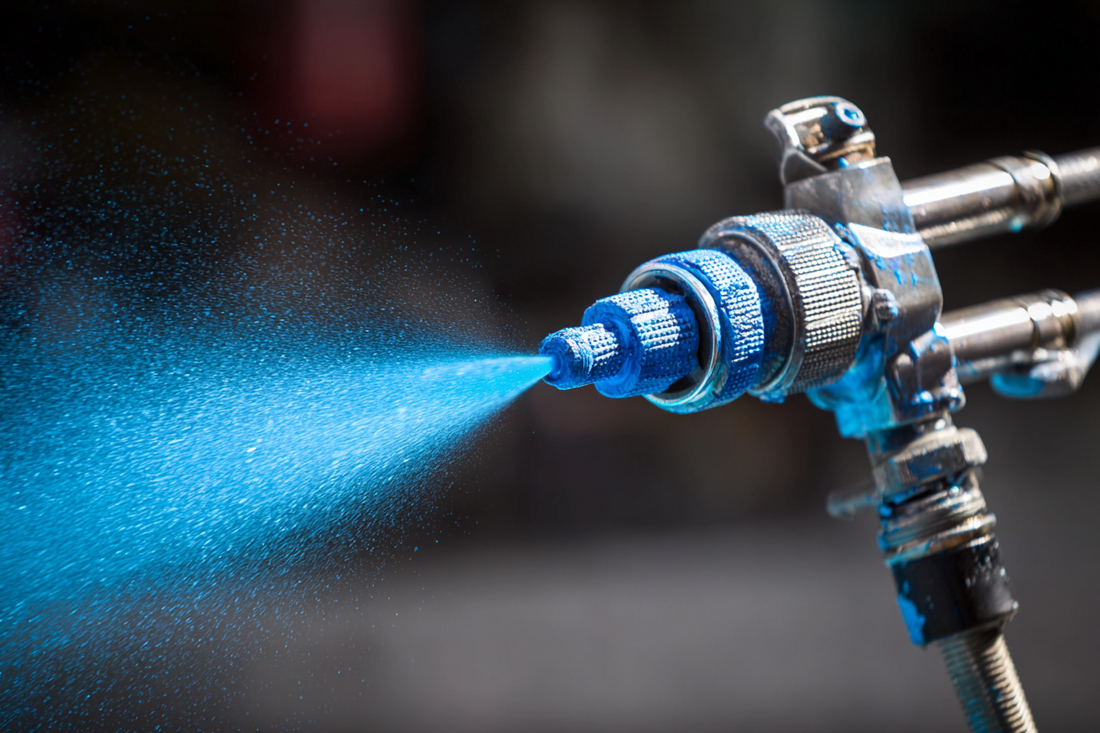
AdminSpravikChoosing the right nozzle—also called a spray tip or aircap—is crucial to achieving professional-quality results with your paint sprayer. The nozzle controls:
1.Fan width – How wide the spray pattern is
2.Orifice size – How much paint is released
Use the wrong nozzle, and you’ll experience uneven coverage, runs, or wasted material. This guide from Spravik will walk you through everything you need to know.
1. The Importance of Nozzle Selection
The nozzle acts like the brain of your sprayer, controlling paint flow, pattern shape, and thickness. Using a nozzle that’s too small for heavy coatings results in clogs or slow application. Using one that’s too large wastes paint and creates drips. The right nozzle optimizes speed, finish consistency, and efficiency.

2. Decoding Nozzle Size Numbers
Most airless tips use a three-digit code like 517:
First digit (“5”) × 2 = fan width in inches (10″)
Last two digits (“17”) = orifice size in thousandths of an inch (.017″)
Example:
A 517 tip produces a 10‑inch fan with a .017″ orifice.
Switching to a 317 yields a 6‑inch fan with the same orifice.
3. Match Fan Width to Your Project
Wide fan (8–24″): Ideal for walls, ceilings, fences
Narrow fan (2–6″): Best for trim, cabinets, furniture, and detailed work
Choose the width that best covers your surface area efficiently without overspray.
4. Match Orifice Size to Your Paint
Use these general guidelines based on the paint’s viscosity
| Coating Type | Orifice Size |
|---|---|
| Lacquers, stains, varnishes | .009 – .013 |
| Oil-based & clear coats | .013 – .015 |
| Latex paint (interior/exterior) | .015 – .019 |
| Primers & mid-viscosity coatings | .017 – .019 |
| Heavy coatings, block fillers, elastomerics | .021 – .035+ |
Start in the .013–.017 range for common DIY projects like interior paint or cabinetry
5. Practical Nozzle Recommendations
a. Fine Finish (Thin Coatings)
Use orifice .009–.013, ideal for stains, lacquers, and fine millwork.
b. General Purpose
Use .015–.017 for most interior/exterior latex or enamel paints.
c. Heavy Coatings
Use .019–.023+ for primers, epoxy, elastomerics, block fillers, stucco, or masonry.
Always reference manufacturer’s spec sheet for coating compatibility
6. Airless vs. HVLP & Other Sprayers
Airless sprayers: Use coded tips like 517, delivering high pressure atomization
HVLP sprayers: Nozzle diameters in mm (e.g., 1.2 mm for fine finish, 2.0–2.5 mm for latex)
Conventional spray guns: Tip choice depends on material and desired fan shape (flat, hollow cone, round)
Understand your sprayer type before choosing a nozzle.

7. Reversible Tips & Low-Pressure Options
Reversible (RAC) tips: Simplify cleaning via reversing the tip to clear clogs
Fine Finish tips: Produce smoother finishes, ideal for furniture and cabinets
Low‑Pressure (HEA) tips: Reduce overspray and pump wear while maintaining finish quality
These advanced tips offer flexibility and quality improvements.
8. Avoiding Tip Wear & Ensuring Longevity
Spray tips wear over time from abrasive coatings. As the orifice widens:
Fan narrows
Paint becomes thicker per pass
Overspray and waste increase
Maintenance tips:
Use lowest pressure that yields a good pattern
Clean after every session—don’t use metal tools on nozzle
Replace tip after recommended volume (e.g., 15–40 gal latex; 35–60 gal oils/stains)
9. Step-by-Step Nozzle Setup Process
1.Select nozzle by coating & project size
2.Strain paint to avoid debris clogging
3.Thin if needed per paint/sprayer instructions
4.Install nozzle, adjust pressure to produce a clean fan
5.Test spray on scrap board; check fan width, edge definition
6.Spray perpendicular, hold 6–12″ from surface
7.Overlap passes ~50% for uniform coverage
10. Common Beginner Mistakes
Incorrect nozzle size: Leads to poor coverage or clogging
Spraying too close/far: Results in runs or misting
High pressure: Causes waste and accelerates tip wear
Skipping straining: Leads to blockages
Incomplete clean-up: Destroys tip accuracy over time
Avoid these by following nozzle guidelines, proper setup, and maintenance routines.

11. Tips for a Pro Finish
Use drop cloths to catch overspray
Work indoors or in calm conditions
Keep a wet edge—don’t spray stationary
Label paint cups after finishing
Maintain consistent speed and distance during spraying
12. When in Doubt: Test and Adjust
Start with a middle-range nozzle like .015–.017 and adjust based on results. Test on scrap until:
Fan width matches project
Paint flow is even with no clogging
Finish is clean and drip-free
13. FAQs
Q: Can I use the same nozzle for primer and top coat?
A: It depends. Primer is thicker—use larger orifice (.019+). For top coat, switch to .015–.017 for finer finish.
Q: When should I replace the nozzle?
A: After tip wear reduces pattern or as recommended by manufacturer (e.g. 15–40 gallons for latex)
Q: Do I need to thin latex for a sprayer?
A: Often yes—follow sprayer manual. Thin to prevent splatter and clogging.
14. Final Takeaway
Choosing the right nozzle is more than just matching numbers—it’s about understanding how fan width, orifice size, and coating type work together. By starting with proper nozzle selection, testing thoroughly, and maintaining your equipment, you'll elevate your finishes and work like a pro.
At Spravik, we’re here to help you pick the right nozzle and sprayer combo, so your next painting project is smooth, efficient, and beautiful. Browse our curated sprayer selections and accessories—and paint with confidence.


